
Are you facing problems while adding beautiful Pricing Tables in WordPress website? If yes, then go through this guide, you are at the right place.
Pricing Tables has a major effect on how users make their buying decision. Although, it helps users to choose the right product when they add beautiful pricing tables that are easy to scan which in turn helps you in increasing your conversions and your sales as well.
Here, in this guide, we will show you how to add a beautiful pricing table in WordPress without any coding.
Adding beautiful pricing tables in WordPress?
- First, you have to install the Easy Pricing Tables plugin and then activate it. For more detail visit our guide on How to install a plugin in WordPress.
- However, Easy Pricing Tables is a paid plugin. Where the prices of a single site license of this plugin start from $29.
- After activation, the plugin adds a ‘Pricing Tables’ menu item to your WordPress Admin Bar. Clicking on it will take you to the settings page of the plugin.
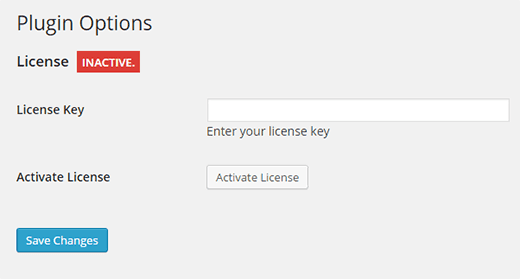
- However, you will be asked to enter your license key. Also, you can get this information from your account at the plugin’s website and in the email received after buying the plugin.
- After entering your license key press the save changes button to save your settings.
Now, you are ready to create pricing tables.
Creating Your First Pricing Table
- For creating your pricing table in WordPress, just go to Pricing Tables>>Add New page.
- Here, you will see a preview of the template available to choose from.
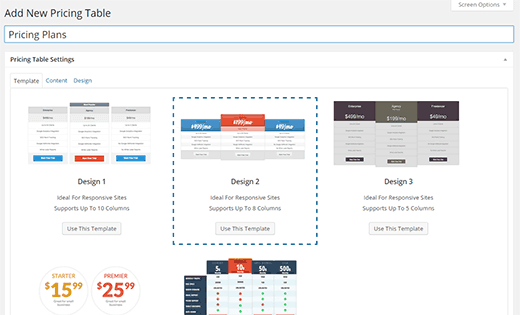
- After selecting a template, click the ‘Content‘ tab to enter the table content.
- In the table content area, you will see columns with various fields.
- First, you have to add a plan name, then pricing and features. Next, you have to enter the button text and URL.
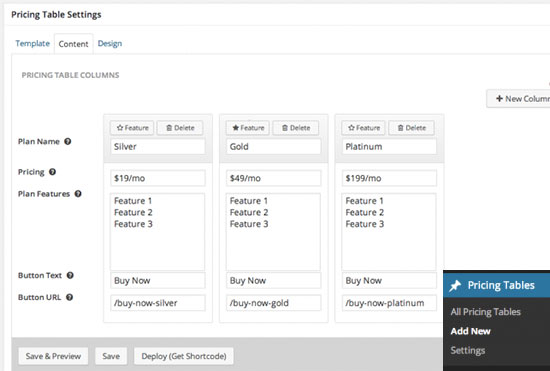
- You can add a new column easily by clicking the ‘New Column’ button.
- Usually, in the pricing table, you can see that one plan is marked as featured or most popular.
- You can do this by clicking on the feature column button in your Pricing table and for the specific column that you want to highlight.
- After adding content to your Pricing table column, you can go to the ‘Design‘ tab. However, this is where you can tweak the visual appearance of your pricing table.
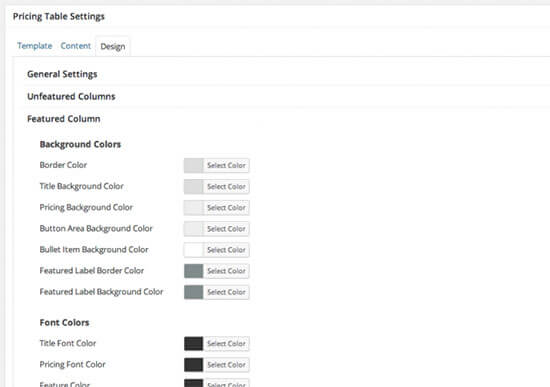
- You can change font sizes, colors, column backgrounds, etc.
- Once you are done, you can see how your table looks like by clicking on the Save and Preview button.
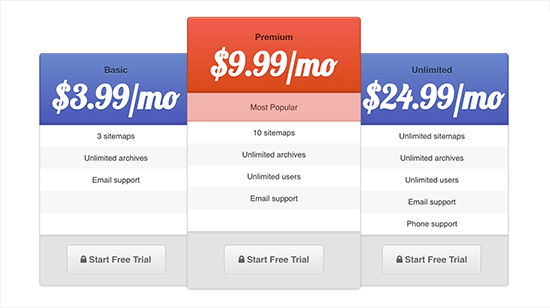
- Also, if you want to change anything, you can do this by editing the table. Click the Deploy (Get Shortcodes) button when you are done.
- You will then see the popup containing shortcode you required to add this pricing table to any WordPress page or post.
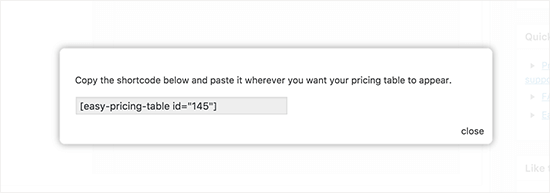
- Now, all you just need to do is copy the shortcode and add it to your page or post where you want to display the pricing table.
Conclusion
Just manage the pricing of your product with the help of the beautiful & awesome pricing tables in WordPress with the easy navigation and many benefits.
We hope this blog helped you in adding pricing tables. If you have any further queries on adding pricing tables, let me know in the comments. If you liked this post, then share it with your friends. You are on the way of exposure!
If you’re looking for someone who can help you with WordPress Website design then you can dial our Toll-Free number +1-888-738-0846 now. We will be pleased to help you.
That’s all, thanks!
Related Articles:
