
The best thing about building a WordPress site is that you do not need any technical skills or programming experience to launch your web project. The system interface is simple and intuitive and has nothing to do with code writing. Flexible architecture, a directory of free add-ons, and a huge number of templates – all these make WordPress a true leader in modern CMS solutions. If you want to launch a corporate website, blog, or landing page, then WordPress will perfectly suit this purpose. Keep reading this guide – we will tell you how to build a WordPress website and what to focus on.
How to Create a WordPress Website & What’s Important
WordPress is by far the most popular free content management system, which surpasses paid solutions in many different ways. According to recent stats, more than 20% of all sites on the Internet are powered by WP, and more than 60% of resources are built on this CMS. If you want to join the army of WP-powered projects, then you need to take care of the following:
- Choosing a hosting and domain registration;
- Installing WordPress;
- Choosing a design for your WordPress project;
- Installing WP template;
- Customizing a WP set-up;
- Installing WP plugins.
Let’s dive deep into all the key steps so that you have an idea of what you have to do.
Step #1 – Hosting & Domain Registration
First of all, you need to choose a web hosting – a service that provides physical server devices for your project. Put it simply, you need to rent a “place” on one of the servers and use it for your web project files. By doing so, you will get your site available for other users to view. Well, in order for people to find it, they will need to know the address of your site. This is where a domain name comes into play.
Step #2 – Domain Purchase
After choosing a hosting, you need to decide on a domain name for your online resource. This should be approached carefully as it will be difficult to change the domain name once you launch a project. Most hosting sites allow you to register domains directly in your acc, which is a user-friendly approach we would say.
The domain must meet the following requirements:
- Have a good history;
- Match your site’s theme;
- Be easy to remember.
Step #3 – WordPress Package Installation
You can manually install the WordPress CMS on your computer after creating a local Wamp server. This will allow you to play around with the site, change its look, adjust the program code, etc. However, there is even an easier way to get started with the WP project if you have no clue how to create a WordPress website. You can automatically put the WP engine on your rented hosting in a couple of clicks by uploading it to your hosting.
Step #4 – Selecting & Installing a WP Template
By default, a standard template is installed on the site, but it can be easily changed if you do not like its look and feel. You can find another template that matches your needs and project specs:
- Check the official WordPress directory. You can access it directly from the admin panel of the new site;
- Explore various sites with themes from third-party developers. Both paid and free options are available;
- Order a template from professional developers.
If you find a template in the official WordPress directory through the admin panel, then just select it and hit the “Install” button. Before installation, a preview will be available, which will enable you to check whether you have made the right choice. After installation, the theme will appear in the general list of templates, and you will only need to activate it.
Step #5 – Choosing & Installing a Theme
Before you launch the site, it is necessary to make sure it looks and works well. Different types of blogs or corporate sites require different layouts and themes. Therefore, you need to make sure that your web project looks exactly as you envision it. The best thing about WP is that it comes with a sheer number of themes to choose from. You can browse the WordPress theme gallery and choose the one that suits your needs.
To install a theme, simply log into your account, go to the WP dashboard, navigate to the “Appearance” tab, pick “Themes,” and press on the “Add New” button. Find the desired WordPress theme, hover over it, and then hit the “Install” button.
Before you decide on a WordPress theme, make sure that it meets the following requirements:
- Is adaptive and works well on computers and mobile devices;
- Is available on the official website of WP;
- Comes with multiple functions built into the theme allowing for its customization;
- Optimized for the high page load speed.
It’s critically important that the theme you choose works well with the content that you will post. For example, if you are going to use Movavi software to produce video content and need to have it professionally represented on your site, then it is highly recommended to pick a theme that is compatible with this type of multimedia. Otherwise, you end up in a situation having a top-notch quality clip but being unable to share it with your audience.
Step #6 – Installing Plugins
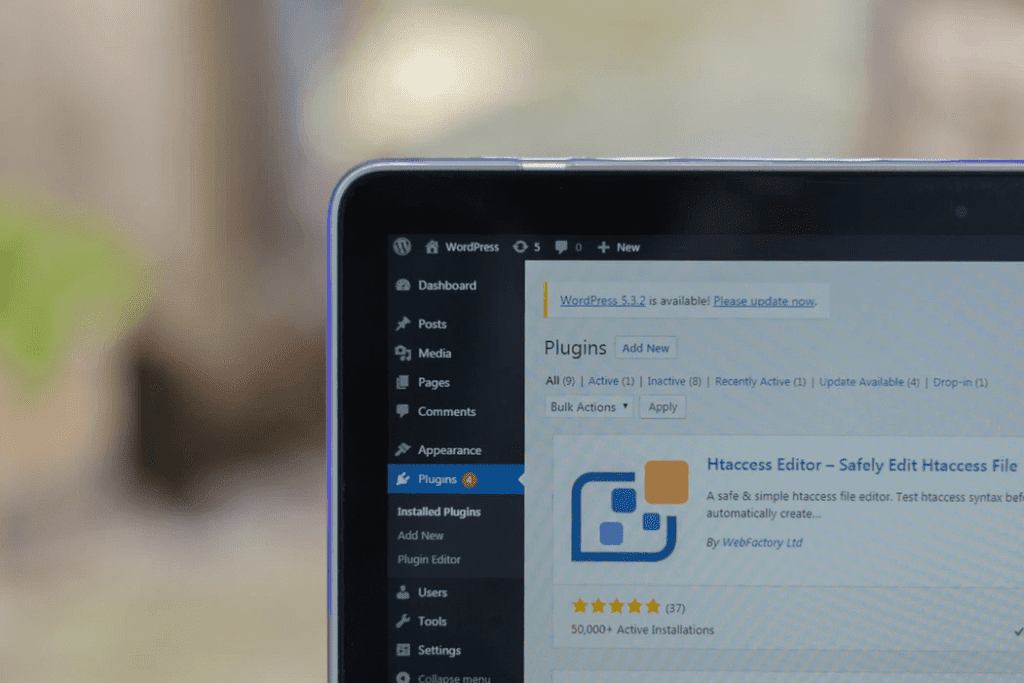
WordPress provides many plugins that will help you extend the functionality of your site, such as expanding administrative functions, setting up site security, and many more. So here are the solutions that you should definitely consider adding to your WP project:
- WooCommerce is a cool plugin that can help you transform your website into an online store. The solution is ideal for anyone looking to sell their products or services through a WordPress site;
- Yoast SEO is one of the best plugins to make your site SEO-friendly. With it, you can publish better quality and search-optimized content;
- W3 Total Cache will speed up the loading of your site on readers’ devices on subsequent visits;
- Keyy Two Factor Authentication is a top-notch plugin for security. It protects your site from unauthorized access and requests confirmation of identity through an additional device;
- Facebook Events Importer is one of the best solutions to sync Facebook with your web project and drive traffic to your website. The plugin lets you import Facebook events into your site and display them using widgets.
The list of available WP plugins is just endless. There are solutions for any use cases. You just need to have an idea of what you want to achieve and look for a dedicated WP plugin on their official website.

Final Say!
Now you understand how to build a website with WordPress and see that it is not difficult at all! The most time-consuming and painstaking process is project planning. We hope that our guide will help you implement your ideas and launch your website with no delays or issues. Let’s remind you again what you have to do:
